If you’ve recently purchased a LiftMaster garage door opener or need to reprogram your existing unit, you might find yourself asking, “How do you program a LiftMaster garage door opener?” Although the task may seem daunting at first glance, it’s actually a straightforward process when you know the correct steps to follow. In this detailed and comprehensive guide, we will walk you through each step of the programming process, offering clear instructions to ensure that your LiftMaster garage door opener is set up correctly.
Whether you’re a first-time user or someone looking to reprogram an existing unit, this guide will provide you with all the necessary information to easily and securely control access to your garage, enhancing both convenience and safety for your home. By the end of this guide, you’ll have the confidence and knowledge to program your LiftMaster garage door opener without any hassle.
How Do You Program a LiftMaster Garage Door Opener: Understanding the Process
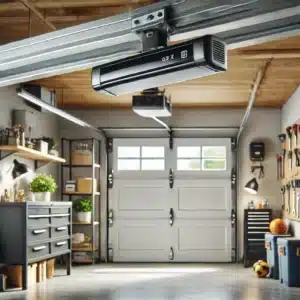
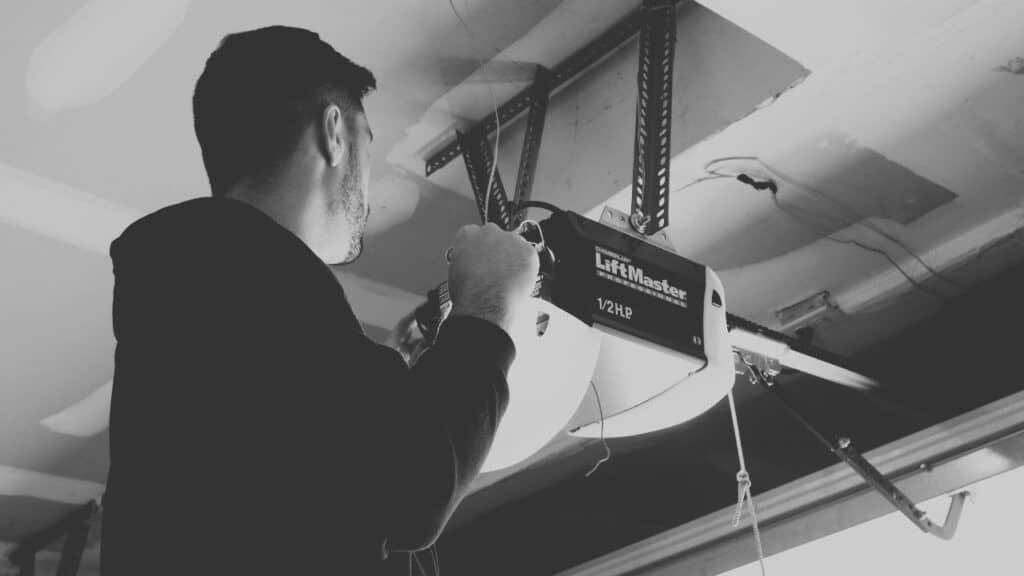
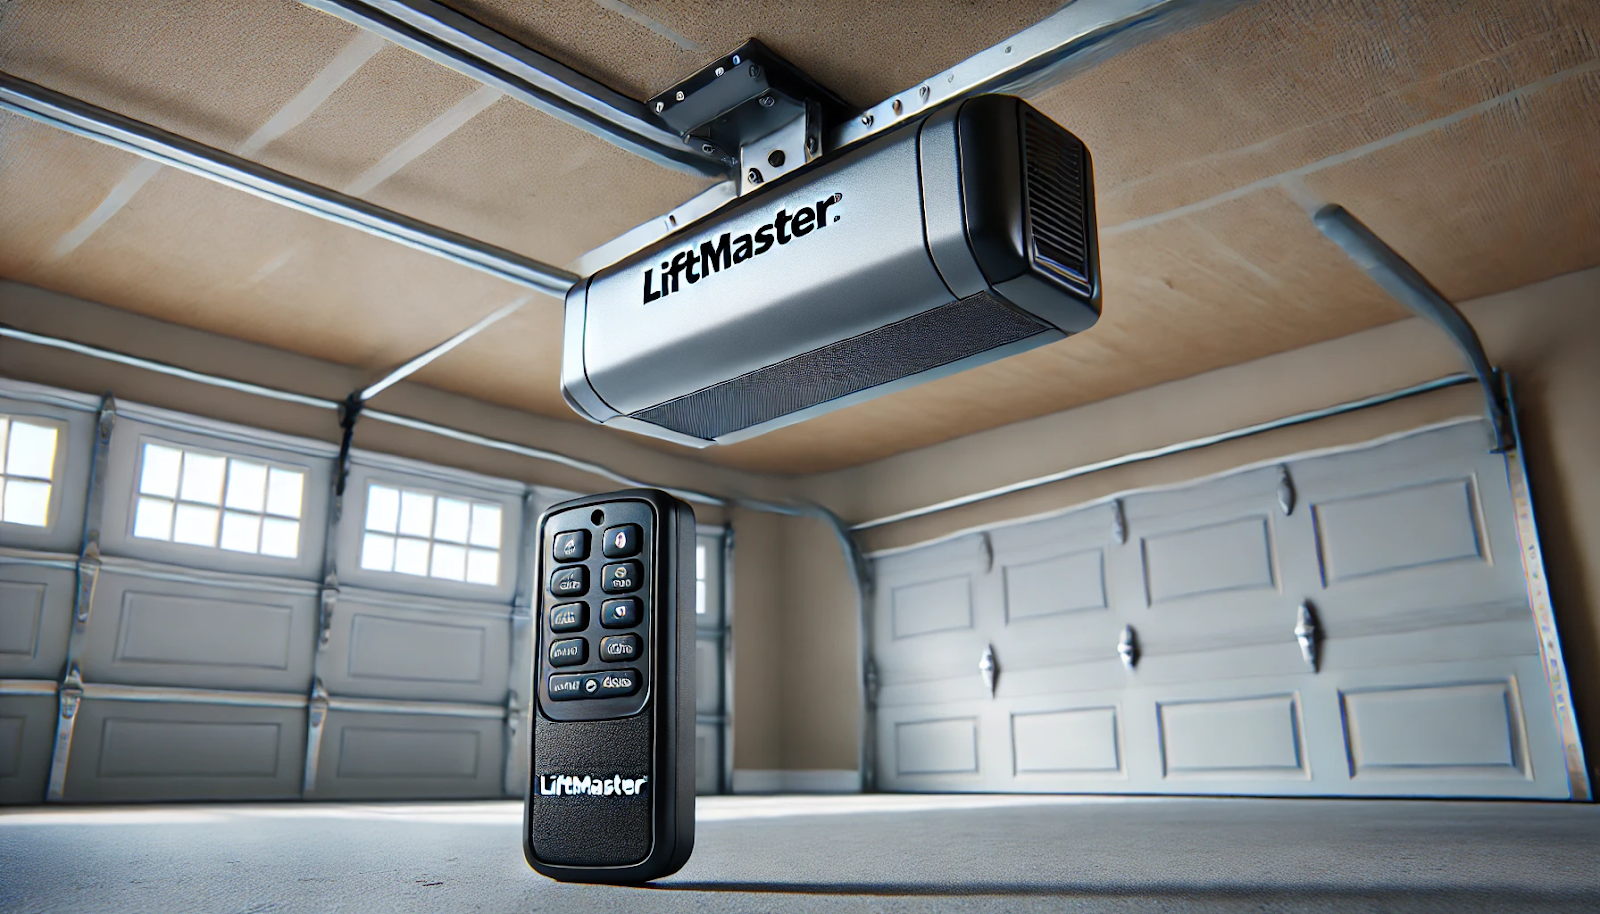
Before getting started with the programming process, it’s crucial to have a solid understanding of what a LiftMaster garage door opener is and how it operates. LiftMaster is a brand that has earned a strong reputation in the garage door industry over the years. They’re well-known for producing openers that are not only reliable and durable but also incorporate the latest technological advancements. These openers are designed with the homeowner in mind, offering a high level of convenience and security. With a LiftMaster opener, you can easily control your garage door with just the push of a button, whether through a remote control or a wall-mounted panel inside your garage.
LiftMaster offers a range of models to suit different needs and preferences. For instance, you can choose from chain drive, belt drive, and screw drive openers, each type bringing its own unique set of features and benefits. Chain drive openers are known for their strength and are typically a great choice for heavier doors, though they can be a bit noisier. Belt drive openers, on the other hand, operate more quietly and are preferred in situations where noise might be a concern, such as if there’s a living space above the garage. Screw drive openers, while less common, are known for their simplicity and efficiency in certain climates.
As you begin to consider how to set up your device, you might find yourself asking, “How do you program a LiftMaster garage door opener?” Regardless of the specific model you choose, all LiftMaster garage door openers share a similar programming process. Understanding this process is key to ensuring that your opener functions smoothly and reliably. The steps involved are designed to be straightforward, ensuring that you can get your new opener up and running with minimal hassle.
We’ll walk you through the detailed steps of how to program a LiftMaster garage door opener, so you can feel confident in setting up and maintaining your device. By the end of this guide, you’ll be equipped with the knowledge needed to program your LiftMaster opener correctly and ensure it continues to operate at its best.
Why Programming Your LiftMaster Garage Door Opener Is Important
Programming your LiftMaster garage door opener is an essential step that offers numerous benefits, making it a task you shouldn’t overlook. Here’s why:
1. Enhanced Security: Properly programming your LiftMaster opener is vital for the security of your home. By doing so, you ensure that only authorized individuals can access your garage, which is often a main entry point to your home. This step helps protect your property and loved ones from potential intruders. Additionally, modern LiftMaster openers often come with rolling code technology, which changes the access code each time you use the remote, further preventing unauthorized entry.
2. Unmatched Convenience: Programming your garage door opener allows for seamless operation, enabling you to open and close your garage door with ease. Whether you’re using a remote control, a keypad, or even a smartphone app, the ability to operate your garage door effortlessly adds a significant layer of convenience to your daily routine. Imagine arriving home on a rainy day and being able to open your garage door without stepping out of your vehicle—this convenience is made possible through proper programming.
3. Personalization and Customization: One of the standout features of programming your LiftMaster garage door opener is the ability to tailor its operation to suit your specific needs. You can set personalized access codes for different users, such as family members or trusted visitors, ensuring that everyone has access without compromising security. Furthermore, you can adjust the opener’s sensitivity settings, customize the opening and closing speed, or even program the garage door to close automatically after a certain period—these options allow you to optimize the functionality according to your lifestyle.
4. Integration with Smart Home Systems: Programming your LiftMaster opener can also facilitate its integration with your smart home system. Many modern LiftMaster models are compatible with popular smart home platforms, allowing you to control your garage door via voice commands or through automated routines. For example, you could set your garage door to automatically open as you approach your home or receive notifications on your phone whenever the door is operated, enhancing both convenience and security.
5. Peace of Mind: Lastly, knowing that your LiftMaster garage door opener is properly programmed offers peace of mind. You can be confident that your garage—and by extension, your home—is secure and that you won’t face any unnecessary inconveniences when it comes to accessing your garage.
By the end of this guide, you’ll have a thorough understanding of how to program your LiftMaster garage door opener, ensuring that you can fully optimize its security features, enjoy unparalleled convenience, and personalize its operation to fit your unique needs.
Step-by-Step Guide to Programming Your LiftMaster Garage Door Opener
This section provides a detailed, step-by-step process to answer the question, “how do you program a LiftMaster garage door opener?” Follow these instructions carefully to ensure successful programming.
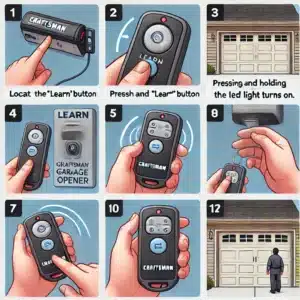
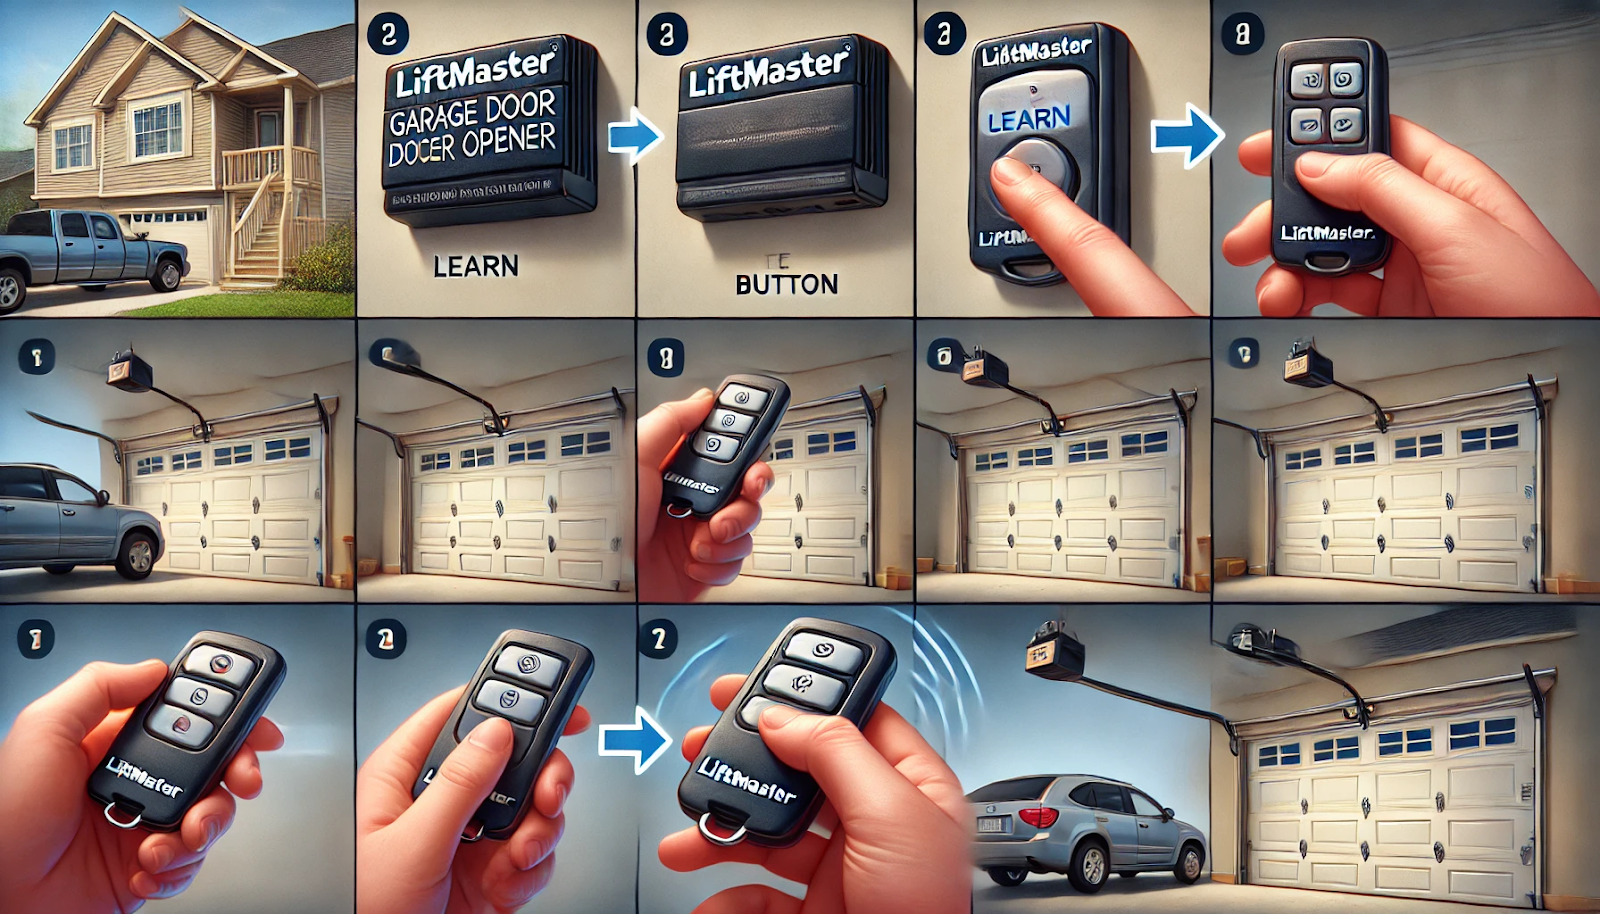
Step 1: Locate the “Learn” Button on Your LiftMaster Garage Door Opener
The first step in programming your LiftMaster garage door opener is to locate the “Learn” button on the motor unit. The location of this button varies depending on the model:
- For Newer Models: The Learn button is typically located on the back or side of the motor unit, usually under a light cover. It is often colored red, orange, purple, or yellow.
- For Older Models: You might need to remove the light cover or a small panel to access the Learn button.
The Learn button is crucial because it puts the opener in programming mode, allowing you to sync it with your remote control or other devices.
Step 2: Press and Release the “Learn” Button
Once you’ve located the Learn button, press and release it. Depending on your model, the LED light next to the Learn button will either start blinking or remain solid, indicating that the opener is in programming mode. It’s essential to proceed with the next steps quickly, as the opener will only stay in programming mode for a limited time (usually about 30 seconds).
Step 3: Program the Remote Control
With the garage door opener in programming mode, it’s time to sync your remote control:
- Press the Button on the Remote Control: Press and hold the button on the remote control that you want to program. Hold the button until the LED light on the motor unit either blinks or goes out, indicating that the remote has been successfully programmed.
- Test the Remote Control: After programming, press the button on the remote control to test if it opens and closes the garage door. If it works, the programming was successful. If not, repeat the process.
Step 4: Program the Keypad (Optional)
If your LiftMaster garage door opener includes a wireless keypad, you can also program it:
- Enter Programming Mode on the Keypad: Press the Learn button on the motor unit to enter programming mode, then go to your keypad.
- Enter Your Desired Code: On the keypad, enter the 4-digit code you want to use, then press the Enter button.
- Sync with the Opener: The LED light on the motor unit should blink or turn off, indicating that the keypad has been successfully programmed.
You can now test the keypad by entering your code and pressing Enter to see if the garage door opens.
Step 5: Program the Homelink (Optional)
If your vehicle has a built-in HomeLink system, you can program it to control your LiftMaster garage door opener:
- Clear the HomeLink System: Before programming, clear the HomeLink system by holding the two outer buttons until the indicator light begins to flash.
- Press the Learn Button: On the motor unit, press the Learn button to enter programming mode.
- Press and Hold the Desired HomeLink Button: In your vehicle, press and hold the HomeLink button you want to program until the garage door opens or closes.
- Test the System: Test the HomeLink button to ensure it successfully operates the garage door.
Step 6: Adjust Additional Settings (Optional)
Depending on your model, your LiftMaster garage door opener may have additional settings you can customize, such as:
- Travel Limits: Adjusting how far the door opens or closes.
- Force Settings: Regulating the force needed to open or close the door.
- Light Controls: Setting how long the lights stay on after operation.
Refer to your owner’s manual for specific instructions on adjusting these settings.
Common Issues and Troubleshooting
Even with careful programming, you may encounter some issues. Here are some common problems and how to resolve them:
The Remote Control Doesn’t Work
If your remote control isn’t working after programming:
- Check the Batteries: Ensure that the batteries in the remote control are fresh and properly installed.
- Reprogram the Remote: Repeat the programming process, ensuring that you press the Learn button correctly.
- Check the Antenna: Make sure the antenna on the motor unit is hanging down and not damaged.
The Keypad Isn’t Responding
If your keypad isn’t working:
- Re-enter the Code: Double-check that you’ve entered the correct code during programming.
- Check the Batteries: Ensure the keypad batteries are working.
- Reprogram the Keypad: Start the programming process from the beginning.
HomeLink Programming Issues
If your HomeLink system isn’t syncing with your LiftMaster opener:
- Clear the System: Ensure that you’ve cleared the HomeLink system before programming.
- Check Vehicle Compatibility: Some older vehicles may require a compatibility bridge to work with newer LiftMaster models.
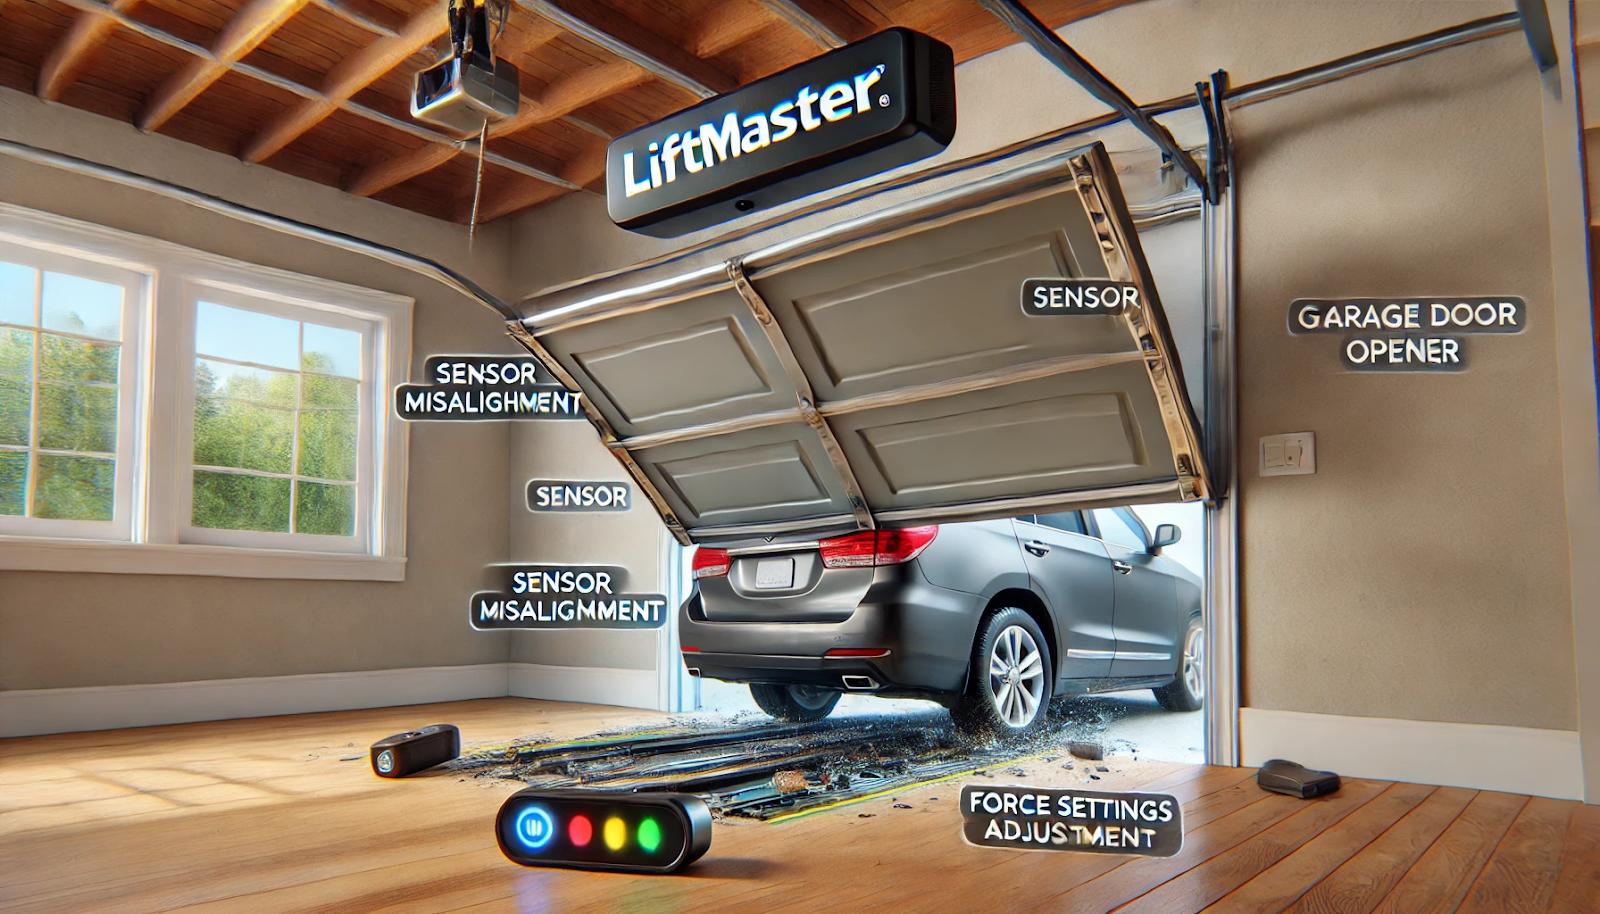
The Door Isn’t Opening or Closing Properly
If your garage door isn’t opening or closing fully:
- Check Travel Limits: Ensure that the travel limits are correctly set.
- Inspect for Obstructions: Make sure there’s nothing blocking the door’s path.
- Check Force Settings: Adjust the force settings if the door is struggling to move.
Maintaining Your LiftMaster Garage Door Opener
Proper maintenance is key to ensuring that your LiftMaster garage door opener continues to function smoothly. Here are some maintenance tips:
- Regularly Inspect the System: Check the motor unit, rails, and other components for wear and tear.
- Lubricate Moving Parts: Apply lubricant to the rails, chains, or belts to reduce friction and wear.
- Test the Safety Features: Periodically test the safety reverse system to ensure it’s working correctly.
- Replace Batteries: Replace the batteries in your remote control and keypad as needed.
By following these maintenance tips, you can extend the lifespan of your LiftMaster garage door opener and avoid potential issues.
Frequently Asked Questions
1. How do you program a LiftMaster door opener?
To program a LiftMaster garage door opener, first, locate the Learn button, which is typically found on the back or side of the motor unit, often behind the light cover. This button may be red, orange, purple, or yellow. Press and release the Learn button, and the indicator light will turn on, staying lit for approximately 30 seconds. Within this time frame, press and hold the button on the remote control that you wish to program. Hold the button until you observe the lights on the opener blink or hear a click, indicating successful programming. To confirm, test the remote by pressing the button to see if the garage door opens or closes.
2. How do I program my remote to my garage door opener?
Programming your LiftMaster remote to your garage door opener involves locating the Learn button on the motor unit, which is usually found on the back or side. Press the Learn button briefly, causing the LED light next to it to light up. Within 30 seconds, press the button on your remote control that you want to use for operating the door. Hold this button until the motor unit light blinks or you hear a clicking sound, indicating that the programming is complete. To ensure the remote is properly programmed, press the remote button to test if the door operates as expected.
3. How do I reset my LiftMaster garage door opener?
To reset your LiftMaster garage door opener, you need to locate the Learn button on the motor unit. Once found, press and hold the Learn button until the LED light next to it turns off, which usually takes about 6 seconds. This action will erase all programmed remote controls and keypads from the garage door opener’s memory. After completing the reset, you’ll need to reprogram any remote controls or keypads that you intend to use with the opener, following the programming steps.
4. Where is the Learn button on a LiftMaster garage door opener?
The Learn button on a LiftMaster garage door opener is generally located on the back or side of the motor unit, often near the antenna wire. It might be concealed under a light cover and is typically colored red, orange, purple, or yellow. This button is used for programming remote controls and keypads as well as resetting the garage door opener.
5. How to program a garage door opener with the Learn button?
To program your garage door opener using the Learn button, first, locate this button on the motor unit, usually on the back or side. Press and release the Learn button, which will cause the LED indicator light to illuminate. Within 30 seconds, press and hold the button on the remote control that you wish to program. Once you observe the opener lights blink or hear a click, release the button, as this indicates the remote has been successfully programmed. The remote should now be ready to use with your garage door opener.
Conclusion
Programming your LiftMaster garage door opener doesn’t have to be a daunting task. By following the steps outlined in this guide, you can successfully program your opener, ensuring that your garage door operates smoothly and securely. Whether you’re syncing a remote control, keypad, or HomeLink system, the key is to follow the instructions carefully and troubleshoot any issues that arise.
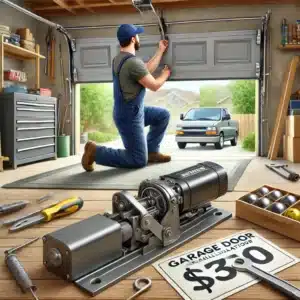
If you encounter any challenges during the programming process or need professional assistance, don’t hesitate to contact a trusted garage door service provider.
Family Prestige Garage Doors has been a reliable name in garage door services across Alexandria for over a decade. We specialize in everything from garage door installation to maintenance and repair, ensuring your home remains secure and accessible. Our commitment to unbeatable quality and exceptional customer service sets us apart, making us the go-to choice for homeowners needing professional garage door solutions.
Whether you’re struggling with programming your LiftMaster garage door opener or facing any other garage door issues, our team of experts is here to help. Contact Family Prestige Garage Doors today for prompt, reliable, and affordable service you can trust.
End Note
Family Prestige Garage Doors is dedicated to protecting your home while enhancing its exterior appearance. Our focus on delivering reliable service and top-quality products drives everything we do. Offering a diverse selection of customized garage door solutions, we ensure your door not only meets your functional needs but also enhances your home’s unique style. Trust us to provide the perfect blend of security, durability, and aesthetic appeal for your garage door.
Explore our commitment and values on our About Us page, and discover how our team delivers expert service and unbeatable quality. Whether you’re interested in installation, maintenance, or repairs, our extensive offerings are detailed on our Garage Door Services page.
Curious if we serve your area? Check out our Service Area page to see if we operate in your neighborhood. Get inspired by our past work by visiting our Gallery, where you can see the variety of styles and solutions we’ve provided to satisfied customers.
For the latest tips, trends, and maintenance advice, don’t miss our Blog, where we share valuable insights to keep your garage door in top shape. When you’re ready to connect, visit our Contact Us page—we’re here to help you find the perfect garage door solution for your home!
Trust Family Prestige Garage Doors to deliver reliable service and unbeatable quality. Reach out to us today and experience the difference. Your satisfaction is our top priority!