Garage doors are a vital component of any home, providing both convenience and security. However, when a garage door spring breaks, it can lead to significant disruptions in your daily routine. Not only can it be inconvenient, but it can also pose a safety risk if not addressed immediately. The good news is that replacing a garage door spring doesn’t always require a costly professional service. With the right guidance, tools, and safety precautions, you can learn how to replace garage door spring on your own and save money in the process.
This guide will walk you through the steps involved in replacing a garage door spring, offering practical advice and pro tips to ensure you complete the job safely and affordably. From understanding the different types of garage door springs to avoiding common mistakes, we’ll cover all the essential information you need to get the job done right.
What Are Garage Door Springs, and Why Are They Important?
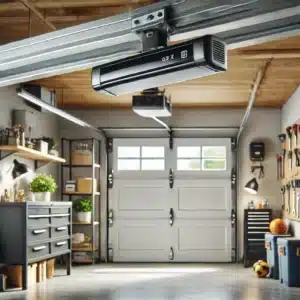
Garage door springs are one of the most crucial parts of the garage door mechanism. They counterbalance the weight of the door, allowing it to open and close easily, whether manually or through an automatic garage door opener. Without properly functioning springs, your garage door would be nearly impossible to lift due to its weight.
There are two main types of springs commonly found in garage doors:
Torsion Springs
Torsion springs are installed above the garage door, mounted on a metal rod. They wind up and store energy as the door closes and release energy as the door opens. These springs are typically more durable and last longer than extension springs, but they are also more challenging to replace due to the tension they hold.
Extension Springs
Extension springs are located on either side of the garage door and extend when the door is opened or closed. These springs are often found on older garage door systems and are generally easier to replace than torsion springs. However, they can wear out faster and may require more frequent replacements.
Signs That Your Garage Door Spring Needs Replacement
Before diving into the details of how to replace a garage door spring, it’s essential to recognize the signs that indicate a replacement is needed:
- The garage door won’t open or close properly. If your garage door struggles to open or close, the springs might have lost their tension or have completely snapped.
- The door feels unusually heavy. When the springs are broken, the weight of the door is no longer balanced, making it feel significantly heavier.
- There’s a gap in the spring. A visual inspection might reveal a visible gap in the spring, indicating that it has snapped and needs replacement.
- Loud banging noises. A loud bang may indicate that a spring has broken, releasing its tension.
Is Replacing a Garage Door Spring a DIY Job or Should You Call a Professional?
Before attempting to replace a garage door spring on your own, it’s important to assess whether this is a task you can safely handle. Replacing garage door springs, particularly torsion springs, can be dangerous if not done correctly. The springs are under high tension, and improper handling can result in serious injury.
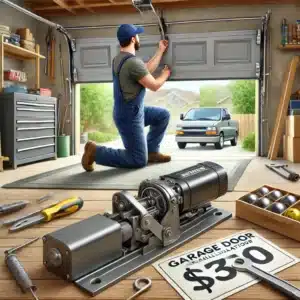
However, for homeowners who are comfortable with DIY tasks and have the necessary tools, replacing a garage door spring can save a significant amount of money. Professional services typically charge between $200 to $500 for spring replacement, whereas doing it yourself can cost as little as $60 to $150 for the parts.
Safety Warning: Always prioritize safety. If you’re not confident in your ability to complete the task safely, it’s better to hire a professional.
How to Replace Garage Door Spring: The Perfect Size or a Massive Mistake? Find Out Now!
Now that we’ve covered the basics, it’s time to dive into the step-by-step process of replacing a garage door spring. Whether you have a torsion spring or an extension spring, we’ll guide you through the process.
Step 1: Gather the Necessary Tools and Materials
Before you begin, ensure you have the following tools and materials ready:
- Winding bars (for torsion springs)
- Socket wrench set
- Adjustable wrench
- Safety goggles and gloves
- Locking pliers or C-clamps
- Ladder
- Replacement springs (make sure they match your garage door specifications)
Safety equipment is essential for this task. Make sure you are wearing gloves and goggles to protect yourself from potential accidents.
Step 2: Determine the Type of Garage Door Spring
As discussed earlier, there are two main types of garage door springs: torsion and extension. Identifying which type you have will determine the steps you need to follow during the replacement process.
- Torsion springs are located above the garage door and are wound tightly around a metal rod. These springs are more difficult and dangerous to replace.
- Extension springs are found on the sides of the garage door and extend when the door is opened or closed. These springs are easier to handle and replace.
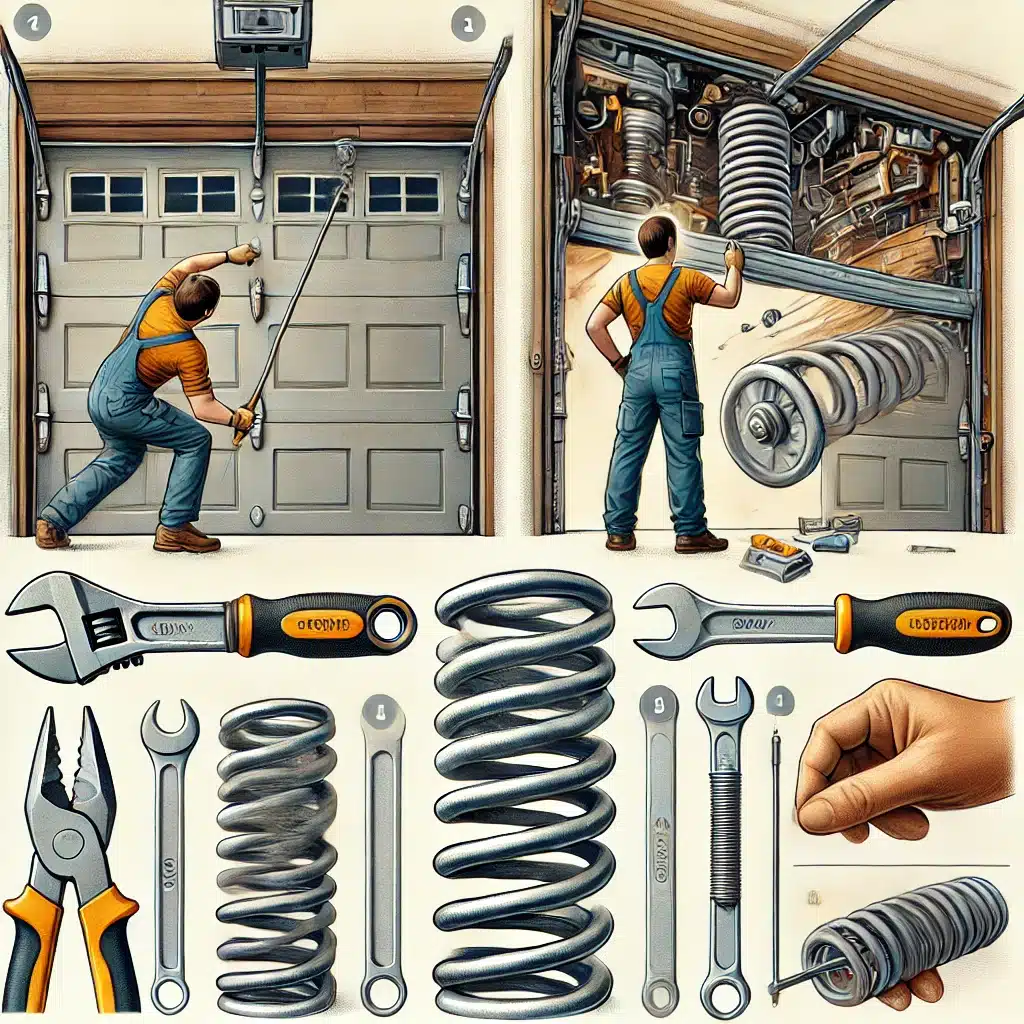
Step 3: Release the Tension on the Springs
If you have torsion springs, this is the most critical and dangerous step. Using winding bars and a socket wrench, release the tension on the spring by turning it slowly and carefully. The goal is to unwind the spring in a controlled manner to avoid any sudden release of tension.
For extension springs, you’ll need to disconnect the springs from the garage door’s track. Be sure to secure the door in place using C-clamps or locking pliers to prevent it from moving during the process.
Step 4: Remove the Broken Spring
Once the tension is released, carefully remove the broken spring. For torsion springs, slide the spring off the metal rod, and for extension springs, disconnect them from the pulley system. Take note of how the springs are installed so you can replace them correctly.
Step 5: Install the New Spring
After removing the broken spring, it’s time to install the new one. Make sure that the replacement spring is the correct size and type for your garage door. Installing an incorrect spring can lead to further damage and safety hazards.
- Torsion Spring Installation: Slide the new torsion spring onto the rod and secure it in place using the appropriate hardware. Winding the spring correctly is critical, so follow the manufacturer’s instructions closely.
- Extension Spring Installation: Attach the new extension spring to the pulley system and ensure it is securely connected to the garage door.
Step 6: Test the Garage Door
Once the new spring is installed, carefully remove any clamps or locking pliers holding the door in place. Test the door to ensure it opens and closes smoothly. The door should move with ease and without any uneven tension. If the door is not functioning correctly, double-check your installation to ensure everything is in the right place.
How to Replace Garage Door Spring Without Breaking the Bank
Replacing a garage door spring doesn’t have to drain your wallet. Here are some pro tips to save money during the process:
1. Choose Quality but Affordable Springs
While it’s tempting to opt for the cheapest springs available, investing in high-quality springs will save you money in the long run. Durable springs last longer and perform better, reducing the frequency of replacements. Look for springs that offer a good balance between cost and quality.
2. Perform Regular Maintenance
Proper maintenance of your garage door springs can prolong their lifespan, saving you from costly garage door repairs or replacements down the line. Regularly lubricate the springs, inspect them for signs of wear, and make sure the door is balanced to prevent unnecessary strain on the springs.
3. Replace Both Springs at the Same Time
If one spring has broken, the other is likely not far behind. Replacing both springs at the same time ensures even tension and helps prevent future problems. It can also save you money on labor or shipping costs if you’re buying online.
4. Shop Around for Deals
Don’t settle for the first price you find. Check multiple retailers, both online and in stores, to find the best deals on garage door springs. Many suppliers offer discounts for buying in bulk or purchasing sets of springs.
5. DIY Labor Costs vs. Professional Costs
Doing the job yourself can save you a significant amount of money on labor costs. However, consider your skill level and the risk involved. For torsion springs in particular, the cost savings may not be worth the potential danger. If you’re uncertain, weigh the benefits of professional service against the cost.
5 Common FAQs About How to Replace Garage Door Spring
1. Can I Replace a Garage Door Spring on My Own?
Yes, many homeowners successfully replace garage door springs on their own. However, it requires a good understanding of the process, the right tools, and a careful approach to safety—especially for torsion springs. If you are not confident in your ability to handle the tension in the springs, it’s safer to hire a professional.
2. How Much Does It Cost to Replace a Garage Door Spring?
The cost to replace a garage door spring can range from $60 to $150 if you do it yourself, depending on the type of spring and where you purchase it. Professional replacement services generally cost between $200 to $500, including labor and parts.
3. How Do I Know If My Garage Door Spring Is Broken?
Signs of a broken garage door spring include difficulty opening or closing the door, a sagging or unbalanced door, and visible gaps in the spring itself. You may also hear a loud snapping noise when the spring breaks.
4. How Long Do Garage Door Springs Last?
Garage door springs typically last between 7 to 12 years, depending on usage and maintenance. Higher-quality springs can last longer if they are well maintained.
5. What Happens If I Don’t Replace a Broken Garage Door Spring?
If you don’t replace a broken garage door spring, the door will become difficult or impossible to lift. Attempting to use the opener with a broken spring can damage the opener itself, leading to more expensive repairs. Additionally, a broken spring can be dangerous, especially if the door falls unexpectedly.
Conclusion
Learning how to replace garage door spring can save you significant money, and it’s a manageable task for those with some DIY experience. However, safety should always be your top priority. If you’re unsure about any step, especially when dealing with torsion springs, it’s wise to consult a professional.
For homeowners who feel confident in their abilities, replacing the spring on your new garage door is a great way to maintain your home’s functionality without the high costs of labor. By following the steps outlined in this guide, you’ll be well on your way to completing the task successfully and keeping your garage door in top condition.
End Note
Family Prestige Garage Doors is committed to protecting your home and enhancing its curb appeal with customized solutions for all your garage door needs. Our reliable service and unbeatable quality ensure your garage door operates smoothly, providing both security and style for your home. Whether you need a simple repair or a full replacement, we’re here to help.
Visit our About Us page to learn more about our mission or explore our wide range of Garage Door Services. We proudly serve various regions, which you can check out by visiting our Service Areas. Financing options are available through our Financing page. Want to see our previous work? Check out our Gallery for inspiration, or read our latest tips and insights on our Blog. Ready to take the next step? Contact Us today to get started!