If you’re wondering how to program a Clicker garage door opener, you’ve come to the right place. This comprehensive guide will walk you through everything you need to know to successfully program your garage door opener. We’ll cover the basics of understanding your Clicker garage door opener, preparation steps, a detailed programming process, troubleshooting common issues, and maintenance tips.
Programming your garage door opener correctly is crucial. Not only does it ensure smooth and reliable operation of your garage door, but it also enhances the security of your home. By following the steps outlined in this guide, you’ll be able to get your Clicker garage door opener up and running with ease. Let’s dive in and get started!

Understanding Your Clicker Garage Door Opener
Before diving into the programming process, it’s important to have a solid understanding of your Clicker garage door opener. Knowing the different types and the tools you’ll need will make the programming process smoother and more efficient.
Types of Clicker Garage Door Openers
When it comes to Clicker garage door openers, there are two main types to consider: universal remotes and specific brand remotes.
1. Universal Remotes Universal remotes are designed to be compatible with most garage door openers, regardless of the brand. These remotes are highly versatile and can often be programmed to control multiple garage doors. They are a great choice if you have different brands of openers for different garage doors or if you want a single remote to control everything.
2. Specific Brand Remotes Specific brand remotes are designed to work with a particular brand of garage door opener. While they might not offer the same level of versatility as universal remotes, they often provide more seamless integration with the specific features of your garage door opener. If you prefer to stick with the original equipment manufacturer (OEM) products, this is the way to go.
Tools You Might Need
To successfully program your Clicker garage door opener, you’ll need a few basic tools. Having these on hand before you start will help you avoid interruptions and ensure a smooth process.
1. Step Ladder Most garage door openers are mounted on the ceiling, so a step ladder will be essential for reaching the unit safely. Make sure your ladder is stable and positioned correctly to avoid any accidents.
2. Instruction Manual While this guide will provide you with detailed steps, having the instruction manual for your specific Clicker garage door opener model can be very helpful. The manual will offer model-specific details and troubleshooting tips that can make the programming process easier. If you don’t have a physical copy, you can often find a digital version on the manufacturer’s website.
Arming yourself with the right knowledge and tools is the first step to successfully programming your Clicker garage door opener. With this foundation, you’re ready to move on to the actual programming steps, which we’ll cover in the next section. Ready to take control of your garage door opener? Let’s proceed!
Preparing for Programming
Before you start programming your Clicker garage door opener, it’s crucial to prepare properly. This preparation will not only make the process smoother but also ensure your safety and the effective programming of the opener.
Safety First: Ensuring the Area is Clean and Safe
Safety should always be your top priority. Here are some steps to ensure your work area is safe:
- Clear the Area: Make sure there are no obstacles around the garage door that could interfere with your work or cause accidents. Move any vehicles, bikes, or other items out of the way.
- Inform Family Members: Let anyone else in your household know that you’ll be working on the garage door opener. This will prevent them from accidentally opening or closing the door while you’re working.
- Secure the Ladder: If you need to use a step ladder, ensure it is stable and positioned correctly. Check that the ladder’s feet are on a flat surface and that it’s locked in place before climbing.
- Disconnect Power if Necessary: If you’re doing more extensive work or feel safer doing so, disconnect the power to the garage door opener by unplugging it. This can prevent any accidental activation during the setup.
Locating the Learn Button on Your Garage Door Opener
The Learn button is a crucial component in programming your Clicker garage door opener. This button is typically found on the back or side of the motor unit of your garage door opener. Here’s how to locate it:
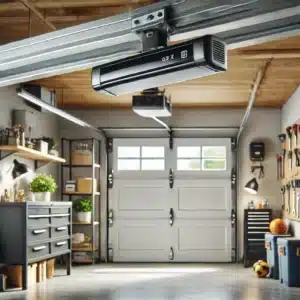
- Access the Garage Door Opener Unit: Climb your step ladder to get a clear view of the motor unit, which is usually mounted on the ceiling of your garage.
- Identify the Learn Button: The Learn button is often a different color from the rest of the unit, making it easier to identify. It might be labeled as “Learn,” “Set,” or “Program.”
- Check the Manual: If you’re having trouble locating the button, refer to the instruction manual specific to your garage door opener model. This manual will provide exact details and illustrations.
Resetting the Garage Door Opener if Necessary
Sometimes, it might be necessary to reset your garage door opener before you start the programming process. This can clear any previous settings and ensure a fresh start. Here’s how to reset your opener:
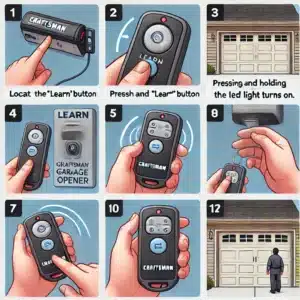
- Locate the Learn Button: As mentioned earlier, find the Learn button on your garage door opener.
- Press and Hold the Learn Button: Press and hold the Learn button for about 6-10 seconds. The indicator light (usually an LED) should turn off, indicating that the memory has been cleared.
- Test the Opener: Press the remote to make sure it no longer operates the door. If the door responds, you might need to repeat the process.
By taking these preparatory steps, you’ll set yourself up for a successful programming session. With a safe work area, a clear understanding of the Learn button’s location, and a fresh start from resetting if necessary, you’re now ready to program your Clicker garage door opener. Let’s move on to the detailed step-by-step guide in the next section. Ready to get started? Let’s do this!
Step-by-Step Guide to Programming Your Clicker Garage Door Opener
Now that you’ve prepared your workspace and located the Learn button, it’s time to dive into the programming process for your Clicker garage door opener. Follow these steps carefully to ensure successful programming:
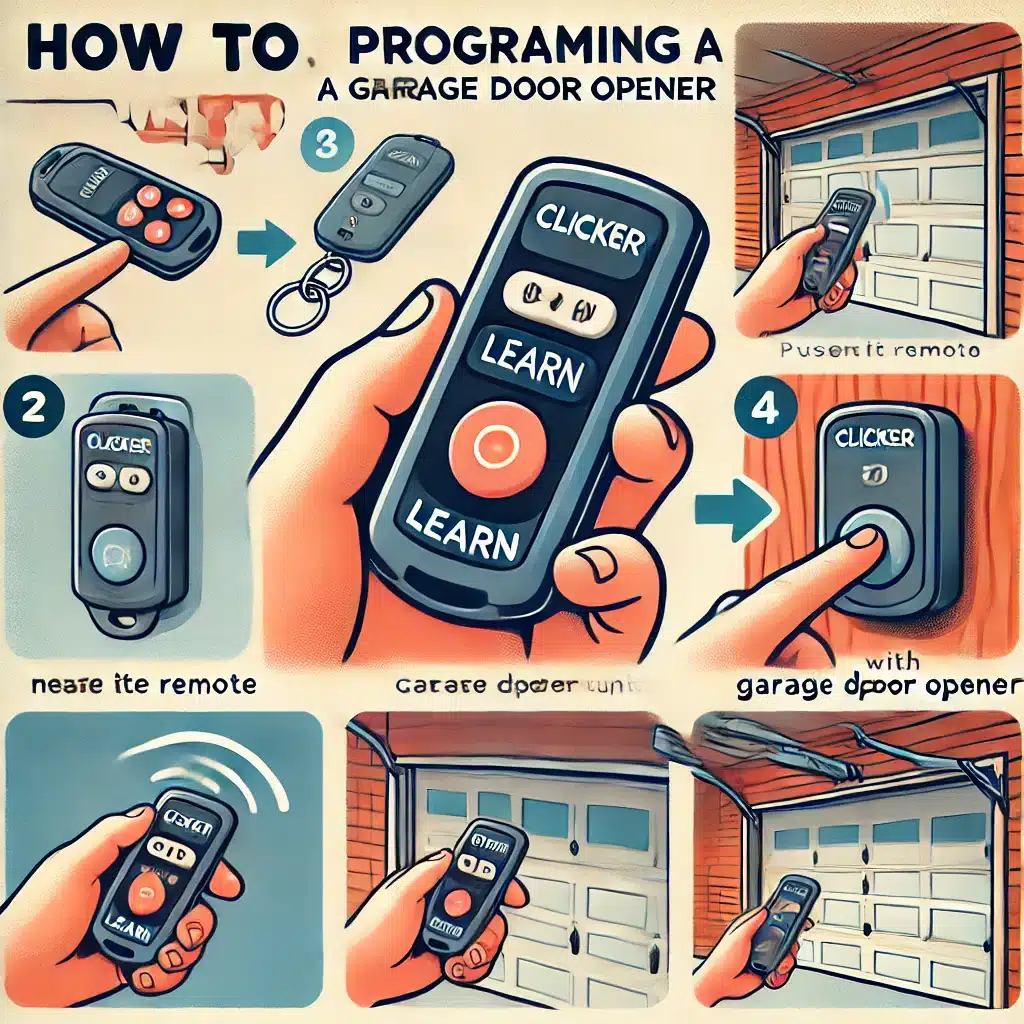
Step 1: Pressing the Learn Button
The Learn button plays a pivotal role in programming your Clicker garage door opener. Here’s how to initiate the programming mode:
- Locate the Learn Button: Refer back to where you found the Learn button on your garage door opener’s motor unit.
- Press the Learn Button: Press and release the Learn button. You’ll notice an indicator light (often an LED) near the button that will illuminate or change color. This light indicates that the opener is now in programming mode and ready to learn the new remote signal.
Step 2: Programming the Remote
With the opener in programming mode, it’s time to sync your Clicker remote to the garage door opener:
- Hold the Remote Near the Opener: Stand within a few feet of the garage door opener. This proximity ensures a strong signal between the remote and the opener during programming.
- Press the Appropriate Button on the Remote: Depending on your Clicker model, there might be a specific button designated for programming (often labeled as “Learn” or similar). Press and hold this button until the indicator light on the garage door opener blinks or changes again. This action sends the remote’s signal to the opener, pairing them together.
Step 3: Testing the Connection
Once you’ve programmed the remote, it’s crucial to verify that the connection is working correctly:
- Test the Remote: Press the programmed button on the remote to activate the garage door opener. The door should respond by opening or closing accordingly.
- Observe the Door: Watch and listen carefully as the door operates. Ensure it moves smoothly and without any unusual noises, indicating a successful programming and connection.
Step 4: Reprogramming if It Doesn’t Work the First Time
If your initial attempt at programming doesn’t yield the desired results, don’t worry. Follow these steps to troubleshoot and reprogram:
- Reset the Opener: If necessary, repeat the process of pressing and holding the Learn button to reset the garage door opener. This clears any previous attempts and prepares it for a fresh programming session.
- Check Remote Batteries: Weak or dead batteries in the remote can also prevent successful programming. Replace the batteries with fresh ones and attempt programming again.
- Repeat Steps 1 and 2: Once the opener is reset or new batteries are installed, go back to Step 1 and proceed through the programming steps again. Ensure you’re following each step precisely to maximize success.
By following this step-by-step guide, you’ll be able to program your Clicker garage door opener effectively and enjoy seamless operation. If you encounter any issues, refer back to these instructions or consult your specific model’s manual for additional troubleshooting tips. Now that your opener is programmed, let’s move on to troubleshooting common issues in the next section.

Troubleshooting Common Issues
Even with careful programming, issues may arise with your Clicker garage door opener. Here’s how to troubleshoot and resolve common problems:
Remote Not Responding
If your remote isn’t working as expected, try these steps:
- Check Battery: Weak or dead batteries are often the culprit. Replace the batteries with fresh ones and try again.
- Reprogram Remote: Sometimes, reprogramming the remote can resolve communication issues. Follow the programming steps outlined in Section IV again to sync the remote with the opener.
- Inspect for Interference: Ensure there are no obstructions or sources of interference near the garage door opener that could disrupt the signal.
Opener Not Receiving the Signal
If the garage door opener isn’t responding to the remote:
- Check Distance: Make sure you’re within the recommended range when operating the remote (usually within 20-30 feet).
- Verify Programming: Double-check that the remote was programmed correctly by following the steps in Section IV.
- Clear Line of Sight: Ensure there’s a clear line of sight between the remote and the opener. Obstructions can weaken the signal.
Replacing Remote Batteries
Regularly replacing remote batteries is essential for optimal performance:
- Locate Battery Compartment: Open the remote’s battery compartment, typically found on the back of the remote.
- Replace Batteries: Remove the old batteries and insert new ones according to the polarity markings (+/-).
- Test Remote: After replacing the batteries, test the remote to ensure it operates the garage door opener correctly.
Checking the Garage Door Opener’s Antenna
A weak signal can be caused by issues with the opener’s antenna:
- Locate the Antenna: The antenna is usually a thin wire hanging from the garage door opener’s motor unit.
- Inspect for Damage: Check the antenna for any signs of damage, such as cuts or breaks.
- Reposition the Antenna: Adjust the position of the antenna to improve signal reception. Ensure it hangs vertically and is not coiled or tangled.
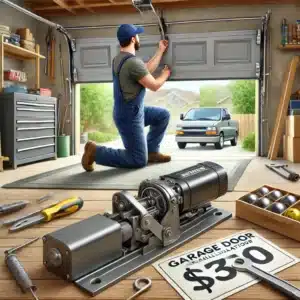
By troubleshooting these common issues systematically, you can resolve most problems with your Clicker garage door opener. If problems persist despite these efforts, consult your owner’s manual for specific troubleshooting steps or contact customer support for further assistance. For issues beyond basic troubleshooting, you might consider professional garage door repair services. Now, let’s explore some tips for maintaining your garage door opener in the next section to ensure long-term reliability.

Tips for Maintaining Your Garage Door Opener
To ensure your Clicker garage door opener operates smoothly and reliably over time, regular maintenance is key. Here are essential tips to keep your garage door opener in top condition:
Regular Battery Checks
- Schedule Checks: Make it a habit to check the batteries in your remote regularly, ideally every 6-12 months.
- Replace as Needed: Replace batteries promptly when they begin to weaken. Weak batteries can cause intermittent operation or failure to communicate with the opener.
Keeping the Remote Clean and Functional
- Clean Exterior: Wipe the exterior of the remote periodically with a clean, dry cloth to remove dirt and debris.
- Avoid Moisture: Keep the remote away from water or excessive moisture to prevent internal damage.
Periodic Testing of the Opener System
- Test Monthly: Regularly test the garage door opener by pressing the remote’s button from various distances within the garage.
- Observe Operation: Watch and listen as the door opens and closes to ensure it moves smoothly without jerking or unusual noises.
- Inspect Safety Features: Check that safety sensors, if present, are aligned and functioning correctly. These sensors prevent the door from closing on objects or people in its path.
By following these maintenance tips, you can prolong the lifespan of your Clicker garage door opener and minimize the likelihood of unexpected malfunctions. Taking proactive steps to care for your opener ensures reliable performance and enhances the safety of your garage. Now that you’re equipped with maintenance knowledge, let’s address some common questions about programming and maintaining garage door openers in the Q&A section below.
Frequently Asked Questions on How to Program Clicker Garage Door Opener
Here are answers to common questions about programming and maintaining your Clicker garage door opener:
What if my Clicker garage door opener doesn’t have a Learn button?
Some models may use a different method for programming. Refer to your
How close does my remote need to be to program it?
Typically, you should be within a few feet of the garage door opener for successful programming. However, this distance can vary depending on the model of your Clicker remote and opener.
Can I program multiple remotes to the same garage door opener?
Yes, most Clicker garage door opener systems support programming multiple remotes. Follow the programming steps for each additional remote you wish to use.
How often should I replace the batteries in my garage door opener remote?
It’s recommended to replace the batteries in your remote every 1-2 years, or as soon as you notice the remote’s signal weakening. Fresh batteries ensure reliable communication with the garage door opener.
What should I do if my remote stops working suddenly?
First, check the batteries in the remote to ensure they have power. If the batteries are fine, inspect the opener’s antenna for any damage or obstructions. Additionally, verify that the Learn button on the opener hasn’t been accidentally reset, which may require reprogramming the remote.
Conclusion
In conclusion, programming your Clicker garage door opener is a straightforward process when approached with the right knowledge and tools. By following the steps outlined in this guide, you can ensure your new garage door operates smoothly and securely. Remember to maintain your opener with regular battery checks, keep the remote clean, and periodically test the system for optimal performance. If you encounter any issues beyond simple troubleshooting, consult your specific model’s manual or contact customer support for assistance. With these tips, you’re well-equipped to maintain and enjoy the convenience of your Clicker garage door opener for years to come.