Regarding garage door openers, LiftMaster is a brand known for its reliability and advanced technology. However, the process of programming your LiftMaster garage door opener can be a bit daunting if you’re doing it for the first time. This comprehensive guide will walk you through every step of the process, ensuring you get it right the first time.
Whether you’re installing a new unit or reprogramming an existing one, understanding the basics and following a systematic approach is key. By the end of this guide, you’ll have the confidence and knowledge to handle your LiftMaster garage door opener with ease.
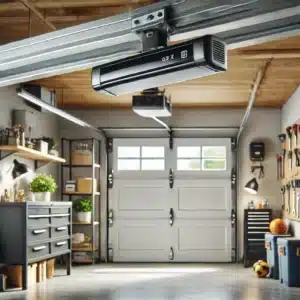
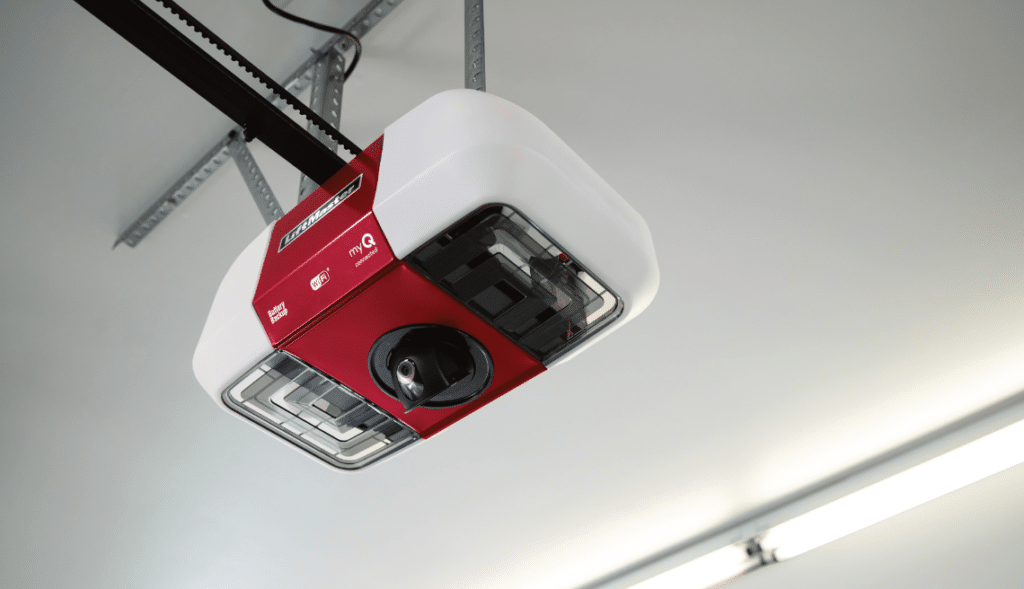
Understanding Your LiftMaster Garage Door Opener
Before programming, it’s essential to familiarize yourself with the components and features of your LiftMaster garage door opener. Knowing the basic parts and how they function together will make the process smoother.
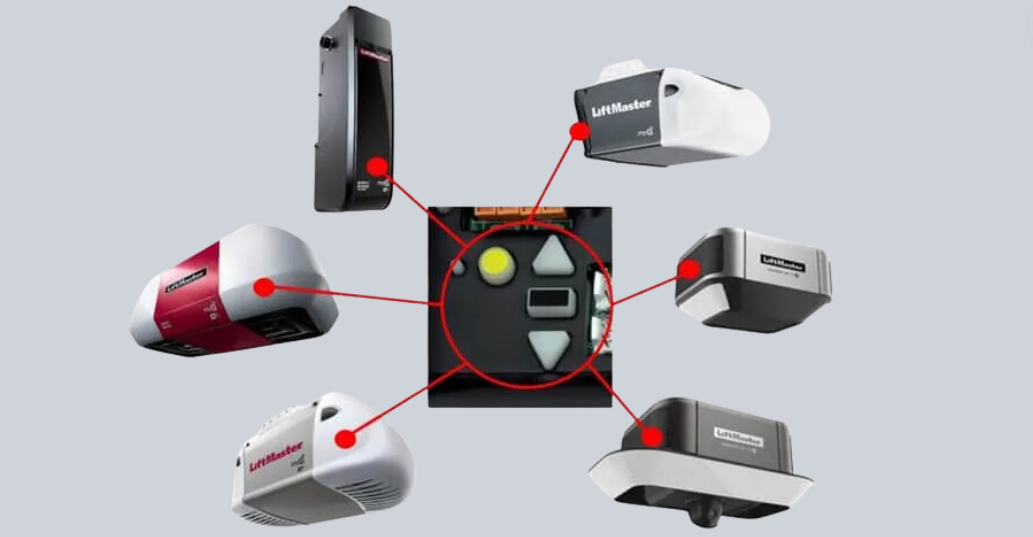
The Main Components
- Motor Unit: This is the central hub of your garage door opener, where the drive mechanism is located. The motor unit is responsible for the opening and closing of the garage door.
- Remote Control: The remote control allows you to operate the garage door opener from a distance. It communicates with the motor unit to trigger the opening and closing actions.
- Keypad: Some LiftMaster models come with a wall-mounted keypad that allows you to open the door using a personal identification number (PIN).
- Safety Sensors: Located on the lower part of the door tracks, these sensors prevent the door from closing if an object or person is in its path.
- Wall Control Panel: This is a mounted panel inside your garage that provides manual control of the door and other features, such as light activation.
Important Terms to Know
- Learn Button: The learn button on your motor unit is essential for programming. It’s usually located on the back or side of the motor and is used to sync the remote control or keypad with the opener.
- Security+ 2.0 Technology: LiftMaster uses this technology to ensure that the remote signal is secure and not easily hacked. Each time you use your remote, a new code is sent to the motor unit.
- Rolling Code: This is another security feature where the access code changes each time the remote control is used, preventing unauthorized access.
Understanding these components and terms will make the programming process easier and help you troubleshoot any issues that may arise.
Preparing to Program Your LiftMaster Garage Door Opener
Proper preparation is crucial to ensuring that the programming process goes smoothly. This section will guide you through the steps you need to take before you begin programming your LiftMaster garage door opener.
Step 1: Gather Necessary Tools and Materials
Before you start, ensure you have all the necessary tools and materials on hand. Here’s what you’ll need:
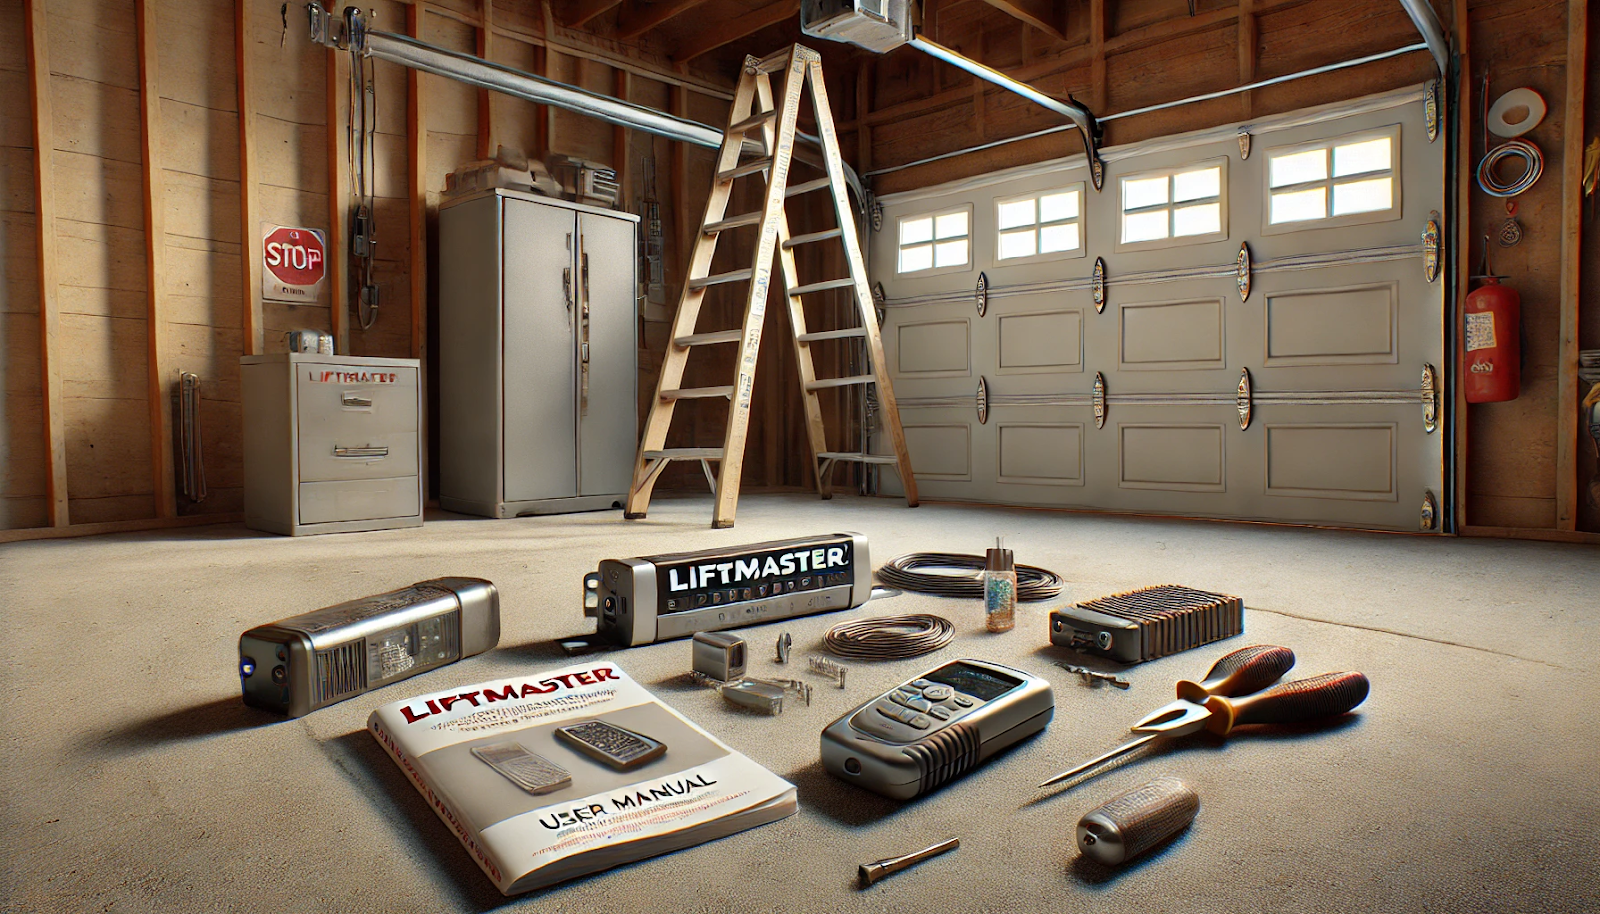
- A sturdy ladder to reach the motor unit.
- Your LiftMaster remote control(s) or keypad.
- A user manual for your specific LiftMaster model (optional but helpful).
- A small, flathead screwdriver (if needed, to remove any covers or access panels).
Step 2: Inspect the System
Before programming, take a few minutes to inspect your entire garage door system. Check for any visible wear and tear on the tracks, rollers, and other moving parts. Ensure that the door opens and closes smoothly without any jerks or hesitation. If there are any issues, it’s best to address them before proceeding with the programming.
Step 3: Locate the Learn Button
As mentioned earlier, the learn button is central to the programming process. On most LiftMaster models, this button is located on the motor unit, either on the back or side. It may be under a small cover or access panel. The button is typically red, yellow, or purple, depending on the model.
Programming the LiftMaster Garage Door Opener Remote Control
Now that you’re prepared, it’s time to program your LiftMaster garage door opener remote control. Follow these steps carefully to ensure success.
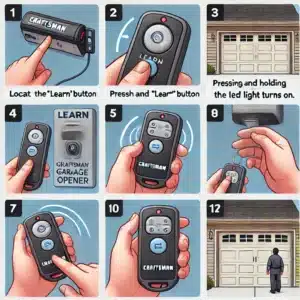
Step 1: Enter Programming Mode
To begin, you need to put the motor unit into programming mode. Here’s how:
- Climb the ladder and locate the learn button on the motor unit.
- Press and release the learn button. The indicator light next to the button will turn on, indicating that the unit is in programming mode.
Step 2: Sync the Remote Control
Once the motor unit is in programming mode, it’s time to sync your remote control:
- Within 30 seconds of pressing the learn button, press and hold the button on your remote control that you want to use to operate the garage door.
- Hold the button until the motor unit’s light bulb blinks or you hear a click. This signals that the remote has successfully been programmed.
Step 3: Test the Remote Control
After programming, it’s crucial to test the remote control to ensure it’s working correctly:
- Move away from the motor unit and press the button you programmed on the remote control.
- The garage door should open or close in response to the button press if it doesn’t, repeat the programming steps.
Programming the LiftMaster Keypad
If your LiftMaster garage door opener includes a keypad, you’ll also need to program it. The keypad allows you to open the garage door using a secure PIN, adding an extra layer of convenience and security.
Step 1: Enter Programming Mode
Similar to the remote control, you’ll need to put the motor unit into programming mode:
- Press and release the learn button on the motor unit. The indicator light will turn on.
Step 2: Set Up the Keypad
Next, you’ll set up your desired PIN on the keypad:
- Within 30 seconds of pressing the learn button, go to the keypad.
- Enter your desired 4-digit PIN on the keypad, then press and hold the “Enter” button.
- Hold the “Enter” button until the motor unit’s light blinks, or you hear a click.
Step 3: Test the Keypad
After programming the keypad, test it to ensure it’s functioning correctly:
- Stand outside your garage door and enter your PIN on the keypad.
- Press the “Enter” button. The garage door should open or close.
- If the door doesn’t respond, repeat the program
Reprogramming Your LiftMaster Garage Door Opener
There may be instances when you need to reprogram your LiftMaster garage door opener. This could be due to a lost remote, a security concern, or simply needing to change your PIN. The reprogramming process is straightforward and similar to the initial programming steps.

Step 1: Clear the Previous Programming
If you’re reprogramming due to security concerns, it’s essential to clear the previous programming before setting up the new codes:
- Press and hold the learn button on the motor unit until the indicator light turns off. This will erase all remote controls and keypads from the memory.
Step 2: Program the New Remote or Keypad
After clearing the old programming, follow the steps outlined earlier to program the new remote control or keypad.
Step 3: Test the System
As always, after reprogramming, test the remote control and keypad to ensure they are working correctly.
Troubleshooting Common Issues
While the programming process is usually straightforward, you may encounter some issues. Here’s a guide to troubleshooting common problems with your LiftMaster garage door opener.
Problem: Remote Control Not Working
If your remote control isn’t working after programming, try the following:
- Check the Battery: Ensure that the remote control’s battery is fresh and correctly installed.
- Reprogram the Remote: Sometimes, the programming may not have been successful. Repeat the programming steps.
- Check the Range: Ensure you are within the operating range of the garage door opener. If you’re too far away, the signal may not reach the motor unit.
- Interference: Other electronic devices can interfere with the remote control signal. Try moving these devices away from the garage door area.
Problem: Keypad Not Responding
If the keypad isn’t responding, consider these solutions:
- Battery Check: Like the remote control, the keypad’s battery may need to be replaced.
- Reprogram the Keypad: Re-enter programming mode and attempt to program the keypad again.
- PIN Issues: Ensure you’re entering the correct PIN. If necessary, reset the PIN by reprogramming the keypad.
Problem: Motor Unit Not Entering Programming Mode
If the motor unit isn’t entering programming mode, try these troubleshooting tips:
- Power Supply: Check that the motor unit is properly connected to a power source and that the circuit breaker hasn’t tripped.
- Button Issues: The learn button might be stuck or faulty. Try pressing it a few times or consult your user manual for further assistance.
- Firmware Issues: In rare cases, there may be a firmware issue. Contact LiftMaster customer support for further guidance.
Maintenance Tips to Keep Your LiftMaster Garage Door Opener Functioning Smoothly
Once you’ve programmed your LiftMaster garage door opener, regular maintenance is crucial to ensure it continues to operate smoothly. Here are some essential maintenance tips:
Regular Inspection
Perform a visual inspection of your garage door opener and the surrounding hardware every few months. Look for signs of wear and tear, such as frayed cables, rusted parts, or misaligned tracks. Address any issues promptly to prevent further damage.
Lubrication
Proper lubrication of moving parts, such as the tracks, rollers, and hinges, is vital to maintaining smooth operation. Use a silicone-based lubricant to avoid attracting dirt and debris. Avoid using grease, as it can clog the tracks.
Sensor Alignment
The safety sensors located on either side of your garage door track need to be aligned correctly to function. Periodically check that the sensors are facing each other and that the LED lights on both sensors are steady. If the lights are flickering or off, realign the sensors until the lights stabilize.
Battery Replacement
Both your remote control and keypad operate on batteries that will eventually need to be replaced. Regularly check the battery levels and replace them as needed. Most remotes use coin-cell batteries, while keypads often use standard 9-volt batteries.
Test the Auto-Reverse Feature
The auto-reverse feature is a crucial safety component of your LiftMaster garage door opener. This feature automatically reverses the door if it encounters an obstruction while closing. To test it:
- Place a solid object, like a piece of wood, in the door’s path.
- Close the door using the remote or wall control.
- The door should reverse immediately upon hitting the object. If it doesn’t, contact a professional for service.
Upgrading Your LiftMaster Garage Door Opener
If your LiftMaster garage door opener is older, you might want to consider upgrading to a newer model with advanced features. Modern LiftMaster models offer enhanced security, smart home integration, and quieter operation.
Benefits of Upgrading
- Smart Home Integration: Newer models can integrate with smart home systems, allowing you to control your garage door via smartphone apps and voice assistants like Amazon Alexa and Google Assistant.
- Enhanced Security Features: Modern LiftMaster openers come with advanced security features like Security+ 2.0, which ensures a new code is sent with every use, making it nearly impossible for intruders to hack.
- Quieter Operation: Newer models use belt drives instead of chain drives, reducing noise, which is ideal if your garage is attached to your home.
- Battery Backup: In case of a power outage, newer models have a battery backup feature that allows you to operate the door even without electricity.
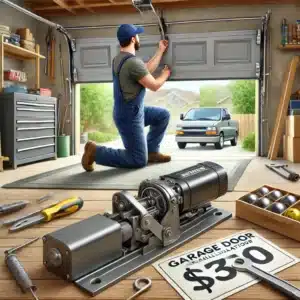
How to Upgrade
Upgrading your LiftMaster garage door opener involves choosing a new model that fits your needs and having it professionally installed. Consult with a local garage door service provider to explore your options and schedule an installation.
FAQs on Programming Liftmaster Garage Door Openers
1. How do I program a Liftmaster garage door opener with a yellow learn button?
- Locate the learn button: It’s usually at the back near the antenna.
- Initiate programming: Press and release the yellow learn button. An indicator light will turn on for 30 seconds.
- Program the remote: Within those 30 seconds, press and hold the remote button until the opener lights blink or you hear two clicks.
- Test: Ensure the remote works by testing it with the door opener.
2. How do I recode my Liftmaster garage door opener?
- Erase old codes: Press and hold the learn button until the indicator light turns off (around 6 seconds).
- Reprogram: Briefly press the learn button again to enter programming mode, then press and hold the remote button until you notice the lights blink or hear a click.
3. How do I program my Liftmaster clicker garage door opener?
- Clear old codes: Press and hold the learn button until the light goes out.
- Re-enter programming mode: Press the learn button again.
- Program the clicker: Press the clicker’s button repeatedly to cycle through frequencies until the opener’s lights blink or you hear a click, indicating success.
4. How do I reset my Liftmaster garage door remote?
- Remove old programming: Press and hold the learn button on the opener until the light turns off.
- Reprogram the remote: Press the learn button then the remote button until the opener’s light blinks or a click is heard.
5. How do I manually reset my garage door opener?
- Turn off the power: Unplug the opener or switch off the circuit breaker. Wait 10-15 seconds.
- Turn the power back on: If needed, reprogram your remotes.
- Test: Check the door’s functionality. Consult the manual or contact support for any issues.
Conclusion
Programming your LiftMaster garage door opener is a straightforward process if you follow the steps carefully. Each step is designed to ensure smooth and secure operation, from preparing your system to syncing your remote control and keypad. Regular maintenance and troubleshooting are equally important to keep your garage door opener functioning at its best.
However, if you encounter any issues or feel your system needs an upgrade, it’s always best to consult professionals. For those in the Alexandria area, Family Prestige Garage Doors has been a trusted partner in garage door repair and service for over a decade. Our team is committed to providing reliable service and unbeatable quality, ensuring your garage door operates safely and efficiently. Contact us today to schedule a service or consultation and experience the Family Prestige difference.
End Note
Family Prestige Garage Doors is committed to protecting your home and boosting its curb appeal with custom garage door solutions. Our reliable service and top-notch quality set us apart. Whether you need a garage door for better security, durability, or style, we have the expertise to find the perfect fit for your home.
We know every home is different, so we offer a range of tailored options to meet your needs. From installation to maintenance and repairs, our services ensure your garage door works perfectly and looks great.
Want to know more about who we are and what drives us? Visit our About Us page. To explore our extensive range of services, including Emergency Garage Door Repair. Curious if we serve your area? Check out our Service Area to see if we’re available in your neighborhood.
We also offer flexible financing options to help you get the best garage door solution for your budget. Learn more on our Financing page.
Get inspired by the variety of styles and solutions we’ve provided to our satisfied customers by visiting our Gallery. For the latest tips, trends, and maintenance advice, don’t miss our Blog, where we share valuable insights to keep your garage door in top shape.
Ready to take the next step? We’re here to help you find the perfect garage door solution for your home. Visit our Contact Us page to connect with us today. At Family Prestige Garage Doors, your satisfaction is our top priority. Experience the difference with our reliable service and unbeatable quality!